Menu Bar

Showing posts with label vegatables. Show all posts

Wednesday, September 18, 2013

Pressure Canning Green Beans

My second crop of green beans is ready to harvest. This gives me a great chance to try out my new pressure canner - a birthday gift from my hubby!

I started by cutting the ends off my beans and cutting into bite sized pieces with a paring knife.

Once all cut and rinsed, I packed tightly into clean, sterile pint mason jars.
Top the beans off with boiling water, leaving 1 inch of head space. Process in a pressure canner for 10 minutes.


Monday, September 16, 2013

A Week of Bounty - and the easiest way to freeze corn.

Our freezer runneth over this week! Last week, we went to pick up our fresh pig from the butcher. Good friends of ours purchased a pig and were willing to split with us. My freezer is packed full of meat as well as the pork fat (which the hubby and his friend will use for venison sausage during deer season!) I see a lot of pork chops in our future.


Among our pork treasures is fresh bacon. The hubby put a nice batch of this right in the smoker - we can't wait to try it! I also got some nice ham slabs which I can't wait to try curing. If anyone has any tips for a first time ham curer let me know!

Several friends have asked me how I store meat in the freezer. To me purchasing meat is a big investment into future meals from my family - I don't want to leave anything to chance or freezer burn. I'm normally not a brand conscious person, but I wrap my meat in freezer paper and then store in Ziploc brand freezer bags. I haven't had as much luck as any other brand. Using this method, I typically can even get several extra months for anything that I freeze without sacrificing quality.

If the pork wasn't enough, our good friends also came into 12 dozens of free corn from a neighbor farmer who was about to toss it.


Our friends had never preserved corn before so I was happy to have them over and show them the easy method for freezing corn I grew up with. I can remember growing up - my father, a dairy farmer who always planted plenty of sweet corn in the summer - bringing home at least a dozen ears every night for dinner when corn was in season. My mom would boil them all up and anything not eaten at dinner would get processed and frozen. By the end of corn season we always had enough corn frozen up to enjoy through the whole winter!


I always start my corn by husking and getting off as much of the "hair" as possible. The husked ears go into a clean sink full of cold water. This helps get any remaining tassel off the corn.

On the stove bring a large pot of water to a boil. Adding the corn - a half dozen ears or so  at a time - and blanch in the boiling water for about 6 minutes. Transfer the corn to a sink or clean plastic tub full of cold water. Once cool enough to handle, cut the corn away from the cob.

Scoop the corn into plastic bags in whatever serving size your family will normally use for 1 dinner. Freeze for up to 6 months.

When ready to serve warm on the stove top or in the microwave with a bit of butter and salt.

Now if only I could decide what to make for dinner tomorrow - pork chops and corn anyone?


Friday, September 13, 2013

Home Canned BBQ Sauce

In my house, we absolutely LOVE barbecue sauce and go through lots of it. So what better to do with a batch of extra tomatoes than make our own home canned sauce.

Home Canned BBQ Sauce
15 medium/10 large tomatoes
1 hot pepper (choose your pepper to match your desired heat)
1 sweet bell pepper
3/4 cup brown sugar
3/4 cup apple cider vinegar
2 cloves garlic
1 cup chopped onion
1 tb dry mustard
1 tb paprika
2 tb hickory smoke salt
1/4 teaspoon cayenne pepper


Once you've assembled your ingredients, you'll want to start be peeling your tomatoes and removing as much of the water and seeds as possible. I use the same method to peel tomatoes for all kinds of uses (this works well for peaches also). First you'll want to start with a large pot of boiling water.

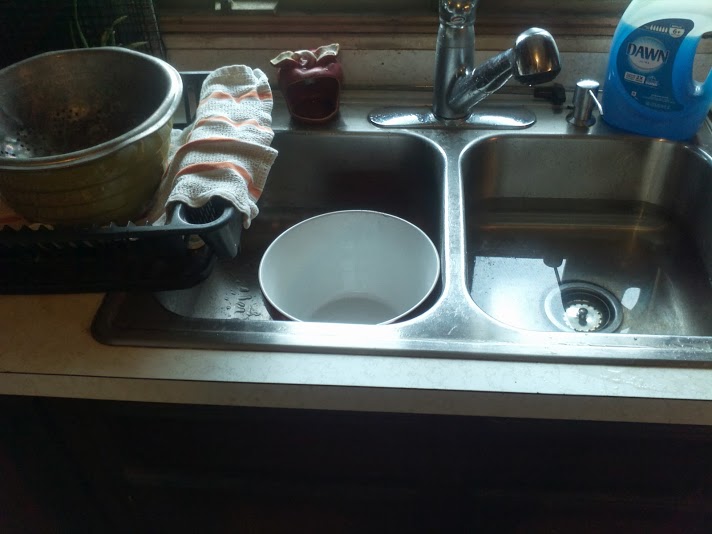
I call this the three station method. Fill your sink with cold water. You'll also need a large bowl to hold the seeds, juice and peel and another bowl to hold your prepped tomatoes

To easily remove the peel, drop your tomatoes in the boiling water. Let boil for about 1-2 minutes - you'll likely see the peel begin to lift. Transfer the tomatoes from the boiling water into the cold water in your sink to make cool enough to handle. The skin should easily pull away from the tomato flesh with a little encouragement from a paring knife. Cut out the core of the tomato and remove as much of the seeds and water as possible. 


Once you've process all your tomatoes, transfer to a large pot on the stove. Add your other ingredients. Add remaining ingredients to your pot.

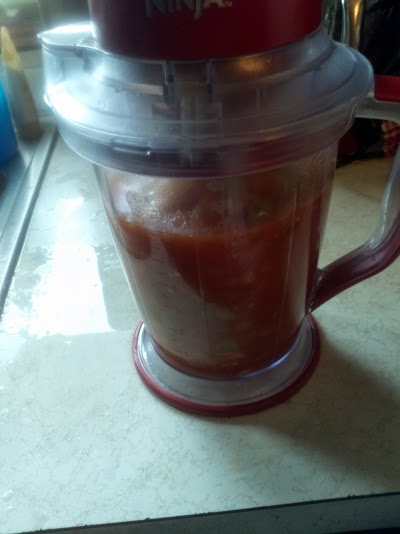
Bring to a boil over medium heat. Reduce to a simmer and boil for 30 minutes. Transfer all ingredients to a blender and blend until smooth.

Return the blended sauce to your pot. At this point, you have a nice consistency - similar to a chili sauce - and could go ahead an can now. However, I was really looking to get a lot closer to that smooth BBQ sauce consistency. To do this, simmer on low heat for an additional hour stirring occasionally. Run through the blender a second time. 

To can the sauce, transfer to clean pint or half pint jars. Process in a boiling water bath for 25 minutes. You can also process in a pressure canner if desired for 20 minutes with 10lbs of pressure.


Enjoy!


.


Sunday, September 1, 2013

Garden Abundance - Putting Up Green Beans

Plant a packet of green bean seeds in your vegetable garden and pretty soon you'll have more green beans that you can imagine doing anything with. I absolutely love home canned green beans which I contend make the absoluate  best green bean casserole. Unfortanately, I haven't gotten around to getting a pressure canner and while my mom and grandma have been water bath canning beans for years and years will not ill effects, I am squeamish about taking that risk myself.

Fortanately for me, freezing green beans is extremely easy to do. The act of processing the bean and preparing for preserving can be a little time consuming, but it does provide a good excuse to hide out inside watching a cheesy movie while cutting up your beans!

 
As you can see, I started with a big flat of green beans. One frugal tip for gardeners... save all those containers your plants come in from the greenhouse. The double as great storage when harvesting your garden! I love the flower flats because their builtin holds make it extremely easy to rinse off your veggies with the garden hose outside and let all the water drain out.
 
Once picked, the beans need to be processed. I remember growing up my brother and I would help our mom and grandma "snap" off the ends of beans with our fingers. These days, I use a paring knife to cut off the ends and cut the beans into smaller pieces. I cut mine directly into a strainer which makes it easy to rise the beans after cutting.
 
Fill a large pot with water and bring to boiling on the stove. Drop in your beans in small batches and allow to blanch in the water for about 3 minutes. Fill a clean sink bason with cold water. Using a slotted spoon, transfer your beans from the boiling water to your cold water to stop the cooking. I have a large, slighly curved metal fryer scoop that I think works perfectly for this purpose - allowing you to scoop up lots of beans at once. Repeat until all of the beans are blanched. You will likely need to add more cold water (or a bit of ice) to your cold water bath as you go. 
 
Transfer your beans to a towel covered cookie sheet one layer thick to allow to dry fully. This is an important step - if you don't do this you'll get a big frozen clump of beans. Transfer your beans to good quality freezer bags and place in your freezer.
 
Pull your beans out of the freezer any time you need a quick side dish or to add to soups and casseoles.